
The Ultimate Recording Guide for Guitarists: Capture Your Music
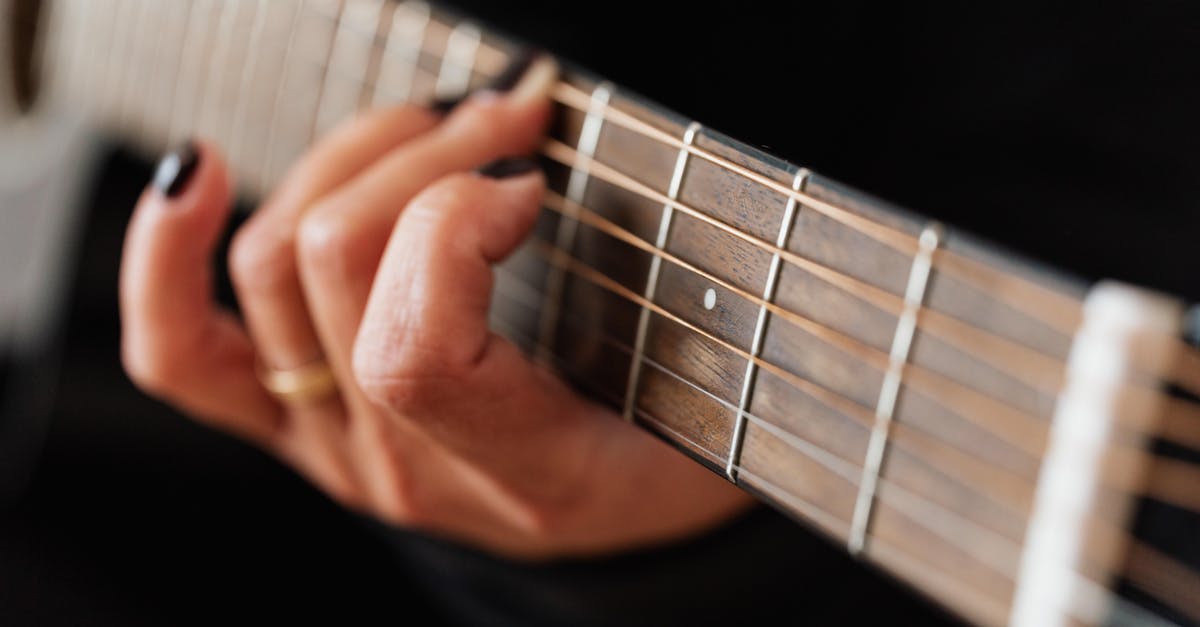
Capturing the Essence: A Journey into the Art of Guitar Recording
Unlocking the Secrets of Guitar Recording: A Comprehensive Guide for Captivating and Professional Sound
In the realm of music creation, capturing the essence of your guitar’s sound is an art form that can elevate your recordings to new heights. Whether you’re a seasoned professional or just starting your journey, this comprehensive guide will equip you with the knowledge and techniques to achieve exceptional guitar recordings that will resonate with your audience.
From preparing your gear for optimal performance to mastering the art of microphone placement, you’ll embark on a sonic expedition that covers every aspect of guitar recording. We’ll delve into the nuances of digital audio workstations, exploring their features and functions to help you shape your sound with precision. And as you progress, you’ll discover the secrets of mixing and mastering, transforming your raw recordings into polished masterpieces that exude clarity, impact, and a professional finish.
1. Prepare Your Gear for Optimal Performance
Prepare Your Gear for Optimal Performance: Set the Stage for Exceptional Recordings
Before embarking on your recording journey, it’s crucial to ensure that your guitar and equipment are in pristine condition. This foundation will lay the groundwork for capturing the purest and most accurate sound possible.
Proper guitar maintenance is paramount. Regular cleaning, including wiping down the body and strings, will remove dirt, oils, and moisture that can affect your guitar’s playability and tone. Additionally, inspecting and adjusting the truss rod, which influences the neck’s curvature, is essential for maintaining proper intonation and preventing buzzing or fretting out.
String selection plays a significant role in shaping your guitar’s sound. Experiment with different materials, gauges, and constructions to find the combination that complements your playing style and the desired tone. Heavier gauge strings provide a fuller, warmer sound, while lighter gauge strings offer greater flexibility and ease of playability. The material, such as nickel-plated steel or pure nickel, also influences the brightness, warmth, and sustain of the strings.
Guitar Maintenance and Setup
Guitar Maintenance and Setup: Preserving Your Instrument’s Playability and Intonation
Regular maintenance is the key to ensuring that your guitar remains in optimal playing condition and delivers its best sound. Start by establishing a cleaning routine that involves wiping down the body and strings after each playing session. Use a soft, dry cloth to remove dirt, oils, and moisture that can accumulate over time. This simple step can significantly extend the life of your strings and prevent the buildup of grime that can affect your guitar’s tone.
Next, pay attention to your guitar’s intonation, which refers to the accuracy of each string’s pitch when played at different frets. If your guitar is out of intonation, it will sound out of tune, especially when playing chords. To adjust the intonation, you’ll need to use a tuner and make微调ments to the bridge saddles. This process can be done by yourself with a little patience and practice, or you can take your guitar to a professional for a setup.
Finally, don’t overlook the importance of fret care. Over time, frets can become worn or develop divots, which can affect the playability and tone of your guitar. If you notice any issues with your frets, you can either dress them yourself using a fret file or take your guitar to a professional for fretwork. Regular fret care can help extend the lifespan of your frets and keep your guitar playing smoothly.
Choosing the Right Strings
Choosing the Right Strings: Optimizing Your Guitar’s Tone and Playability
The type of strings you choose can significantly impact the sound and playability of your guitar. Here are a few key factors to consider:
- String Gauge: String gauge refers to the thickness of the strings. Thicker strings produce a fuller, warmer sound, while thinner strings are brighter and easier to bend. The ideal gauge for you will depend on your playing style and the type of guitar you have.
- String Material: Strings are typically made from steel, nickel-plated steel, or pure nickel. Steel strings are the brightest and most common type, while nickel-plated strings are warmer and have a longer lifespan. Pure nickel strings are the warmest and most expensive, but they also have the shortest lifespan.
- String Construction: Strings can be either roundwound or flatwound. Roundwound strings have a rougher texture that provides more grip and a brighter sound. Flatwound strings have a smoother texture that is easier on the fingers and produces a warmer, more mellow sound.
Experimenting with different string types is the best way to find the perfect match for your guitar and playing style. Once you find a set of strings that you like, be sure to keep them clean and change them regularly to maintain their optimal sound and playability.
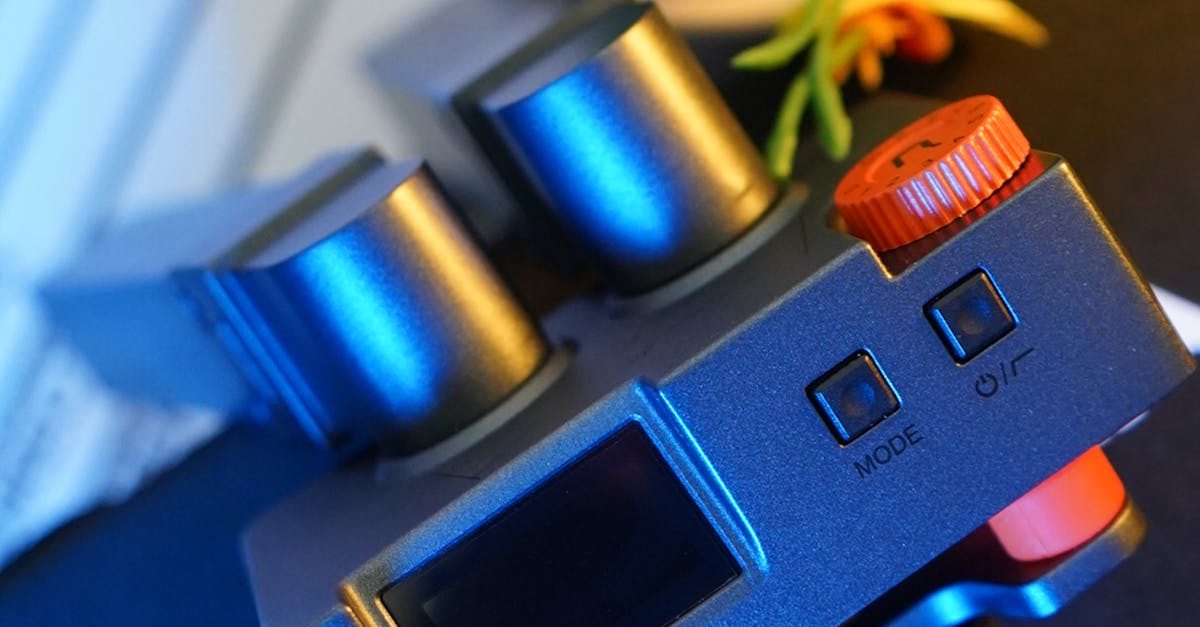
Optimizing Pedals and Effects
Optimizing Pedals and Effects: Enhancing Your Guitar’s Sound
Pedals and effects can be powerful tools for shaping and enhancing the sound of your guitar. However, it’s important to use them effectively to avoid introducing unwanted noise or compromising your guitar’s natural tone.
Start by connecting your pedals and effects in the correct order. The order in which you connect your pedals will affect the way they interact with each other and with your guitar. Experiment with different orders to find the combination that sounds best to you.
Next, make sure that your pedals and effects are properly powered. Most pedals require a 9-volt power supply, but some may require more or less voltage. Using the wrong power supply can damage your pedals, so it’s important to check the manufacturer’s specifications.
Finally, take the time to fine-tune your pedals and effects. Each pedal has its own unique set of controls, so it’s important to experiment with them to find the settings that sound best to you. Don’t be afraid to tweak the knobs until you get the sound you’re looking for.
With a little practice, you can learn to use pedals and effects to create a wide range of sounds, from subtle enhancements to over-the-top distortions. So experiment with different pedals and effects, and don’t be afraid to push the boundaries of your sound.
2. Master Microphone Techniques for Accurate Sound Capture
Master Microphone Techniques for Capturing the Essence of Your Guitar
Microphones are essential tools for capturing the sound of your guitar, and the way you position them can have a significant impact on the final recording. Here are a few basic microphone techniques to get you started:
- Close-miking: This technique involves placing the microphone very close to the guitar, typically within a few inches of the soundhole or amplifier. Close-miking produces a focused sound that captures the nuances of your playing, but it can also be prone to feedback.
- Ambient miking: This technique involves placing the microphone further away from the guitar, typically in the room where you’re recording. Ambient miking captures the natural ambience of the room, which can add depth and space to your recordings.
- Experimentation: Don’t be afraid to experiment with different microphone positions to find the sound that you’re looking for. Try moving the microphone around until you find a spot that captures the sound of your guitar in the way that you want.
Once you’ve found a good microphone position, be sure to experiment with different microphone settings, such as the polar pattern and gain. The polar pattern determines the directionality of the microphone, while the gain controls the volume of the signal. By adjusting these settings, you can fine-tune the sound of your recordings and achieve the perfect balance between clarity and ambience.
Types of Microphones and Their Applications
Types of Microphones and Their Applications for Guitar Recording
There are many different types of microphones available, each with its own unique characteristics. The type of microphone you choose will depend on the sound you’re trying to achieve.
- Dynamic microphones: Dynamic microphones are rugged and durable, making them a good choice for live sound reinforcement. They’re also relatively inexpensive, which makes them a good option for home recordists on a budget. Dynamic microphones have a wide frequency response and can handle high sound pressure levels, making them suitable for recording loud instruments like electric guitars and drums.
- Condenser microphones: Condenser microphones are more sensitive than dynamic microphones, which makes them a good choice for recording acoustic guitars and other繊細instruments. They have a wider frequency response than dynamic microphones, which makes them capable of capturing more detail. However, condenser microphones are also more expensive and fragile than dynamic microphones.
- Ribbon microphones: Ribbon microphones are known for their warm, smooth sound. They’re often used for recording vocals and acoustic instruments. Ribbon microphones are more delicate than dynamic and condenser microphones, so they need to be handled with care.
In addition to these three main types of microphones, there are also a number of specialized microphones available for guitar recording, such as boundary microphones and contact microphones. With so many different microphones to choose from, it’s important to experiment with different types to find the ones that work best for your sound and recording style.
Microphone Placement for Different Guitar Sounds
Microphone Placement for Capturing Different Guitar Sounds
The position of your microphone can have a significant impact on the sound of your guitar recording. Here are a few tips for placing your microphone to capture the sound you’re looking for:
- Miking the soundhole: Placing the microphone inside the soundhole will give you a warm, natural sound. This is a good position for recording acoustic guitars.
- Miking the bridge: Placing the microphone near the bridge will give you a brighter, more percussive sound. This is a good position for recording electric guitars.
- Miking the fretboard: Placing the microphone near the fretboard will give you a more focused sound that emphasizes the attack of your picking. This is a good position for recording lead guitar parts.
Once you’ve chosen a general position for your microphone, you can experiment with different distances and angles to find the sound that you like best. For example, moving the microphone closer to the guitar will give you a more intimate sound, while moving the microphone further away will give you a more ambient sound.
Don’t be afraid to experiment with different microphone placements until you find the sound that you’re looking for. The best way to learn is to listen to your recordings and make adjustments until you’re happy with the results.
Multi-Microphone Recording Techniques
Multi-Microphone Recording Techniques for Capturing the Full Spectrum of Your Guitar’s Sound
Using multiple microphones can give you a more complete and nuanced recording of your guitar. Here are a few popular multi-microphone techniques:
- X-Y: The X-Y technique involves placing two microphones in a crossed configuration, with the capsules pointing at each other. This technique produces a stereo image with a wide soundstage.
- A-B: The A-B technique involves placing two microphones in a parallel configuration, with the capsules facing each other. This technique produces a stereo image with a more focused soundstage.
- Blumlein: The Blumlein technique involves placing two microphones in a coincident configuration, with the capsules facing 90 degrees apart. This technique produces a stereo image with a natural and realistic soundstage.
Once you’ve chosen a multi-microphone technique, you can experiment with different microphone placements to find the sound that you like best. For example, you can move the microphones closer to the guitar to get a more intimate sound, or you can move the microphones further away to get a more ambient sound.
Once you’re happy with the sound of your individual microphone signals, you can blend them together to create a cohesive mix. Start by setting the levels of each microphone so that they’re all balanced. Then, you can use EQ and compression to fine-tune the sound of each microphone and make it sit better in the mix.
Multi-microphone recording techniques can be a powerful tool for capturing the full spectrum of your guitar’s sound. By experimenting with different techniques and microphone placements, you can create recordings that are rich, detailed, and immersive.
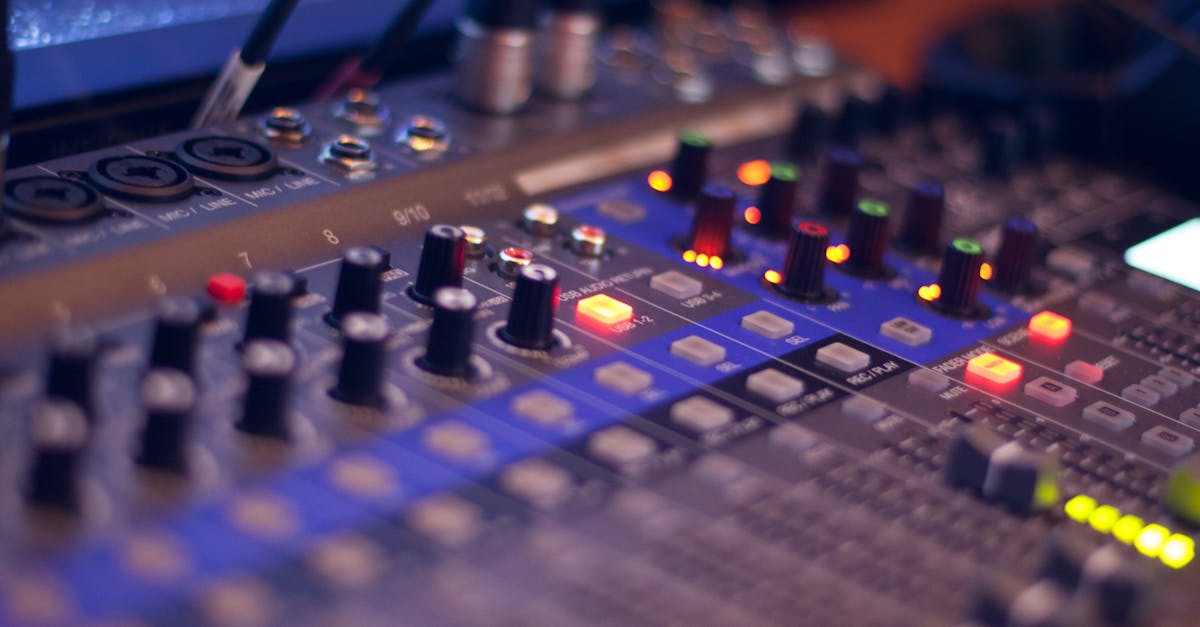
3. Embrace Digital Audio Workstations (DAWs) for Seamless Recording and Editing
Embrace Digital Audio Workstations (DAWs) for Seamless Recording and Editing
DAWs (Digital Audio Workstations) are powerful software tools that allow you to record, edit, and mix your guitar tracks. They provide a wide range of features and functions that can help you create professional-sounding recordings.
Some of the essential features of DAWs include:
- Multi-track recording: DAWs allow you to record multiple tracks simultaneously, which is essential for recording guitars and other instruments.
- Editing tools: DAWs provide a variety of editing tools, such as cut, copy, paste, and trim, which allow you to edit your recordings and create the perfect takes.
- Mixing tools: DAWs include a variety of mixing tools, such as EQ, compression, and reverb, which allow you to shape and enhance the sound of your recordings.
- Effects plugins: DAWs allow you to use effects plugins to add additional effects to your recordings, such as distortion, delay, and chorus.
If you’re new to DAWs, it’s important to choose one that is easy to learn and use. Some popular DAWs for beginners include GarageBand, Audacity, and Cakewalk.
Once you’ve chosen a DAW, take some time to learn the basics of the interface. This will help you get started with recording, editing, and mixing your guitar tracks.
Choosing the Right DAW for Your Needs
Choosing the Right DAW for Your Needs
When choosing a DAW, there are a few key considerations to keep in mind:
- Budget: DAWs range in price from free to thousands of dollars. It’s important to set a budget before you start shopping so that you can narrow down your options.
- Features: Different DAWs offer different features. It’s important to make a list of the features that are important to you before you start shopping. Some of the most common features include multi-track recording, editing tools, mixing tools, and effects plugins.
- Compatibility: DAWs are not all compatible with all operating systems. Make sure that the DAW you choose is compatible with your operating system.
Once you’ve considered these factors, you can start exploring different DAW options. Some of the most popular DAWs include:
- GarageBand: GarageBand is a free DAW that is available for Mac users. It’s a great option for beginners who are just getting started with recording and editing.
- Audacity: Audacity is a free and open-source DAW that is available for Windows, Mac, and Linux. It’s a great option for users who are looking for a powerful and affordable DAW.
- Cakewalk: Cakewalk is a professional-grade DAW that is available for Windows. It’s a great option for users who are looking for a DAW with a wide range of features and functionality.
Take some time to research different DAWs and read reviews before you make a decision. The best DAW for you will depend on your individual needs and preferences.
Essential DAW Functions for Guitarists
Essential DAW Functions for Guitarists
Once you’ve chosen a DAW, it’s important to learn the essential functions that you’ll need to record, edit, mix, and master your guitar tracks. These functions include:
- Track creation: Tracks are the building blocks of a DAW project. You can create as many tracks as you need to record your guitar, vocals, drums, and other instruments.
- Recording: Once you’ve created a track, you can start recording your guitar. Most DAWs allow you to record multiple takes and then choose the best one.
- Editing: Once you’ve recorded your guitar tracks, you can use the editing tools in your DAW to edit them. This includes cutting, copying, pasting, and trimming your recordings.
- Mixing: Mixing is the process of combining your recorded tracks into a cohesive whole. You can use the mixing tools in your DAW to adjust the levels, panning, and effects of each track.
- Mastering: Mastering is the final step in the recording process. It involves making final adjustments to the sound of your mix to make it sound its best.
Learning the essential functions of your DAW will allow you to take your guitar recordings to the next level. Take some time to experiment with the different functions and see how they can be used to improve your sound.
Integrating Plugins and Effects
Integrating Plugins and Effects
Plugins and effects are powerful tools that can help you enhance the sound of your guitar recordings. There are a wide variety of plugins and effects available, including:
- EQs: EQs (equalizers) allow you to adjust the frequency response of your recordings. This can be used to boost or cut certain frequencies to improve the overall sound of your guitar.
- Compressors: Compressors reduce the dynamic range of your recordings. This can be used to make your guitar sound louder and more consistent.
- Reverbs: Reverbs add ambience to your recordings. This can be used to create a sense of space and depth.
- Delays: Delays add a delay to your recordings. This can be used to create a variety of effects, such as echoes and slapback.
Plugins and effects can be used to create a wide range of sounds. Experiment with different plugins and effects to find the ones that you like best.
Here are a few tips for using plugins and effects:
- Start with small adjustments. It’s easy to overdo it with plugins and effects. Start with small adjustments and then gradually increase the amount of effect until you get the sound you want.
- Use your ears. The best way to learn how to use plugins and effects is to use your ears. Listen to your recordings and make adjustments until you’re happy with the sound.
- Don’t be afraid to experiment. There are no rules when it comes to using plugins and effects. Experiment with different combinations of plugins and effects to find the sounds that you like best.
4. Mixing and Mastering Techniques for a Polished Sound
Mixing and Mastering Techniques for a Polished Sound
Mixing and mastering are two essential steps in the recording process that can help you transform your raw recordings into polished masterpieces.
- Mixing is the process of combining your recorded tracks into a cohesive whole. This involves adjusting the levels, panning, and effects of each track to create a balanced and dynamic mix.
- Mastering is the final step in the recording process. It involves making final adjustments to the sound of your mix to make it sound its best on all playback systems.
Mixing and mastering can be complex processes, but there are a few basic techniques that you can use to get started:
- Start with a good mix. The first step to a great master is a good mix. Make sure that your individual tracks are sounding their best before you start mastering.
- Use EQ to balance your tracks. EQ can be used to adjust the frequency response of your tracks so that they fit together well. Use EQ to boost or cut certain frequencies to improve the overall sound of your mix.
- Use compression to control your dynamics. Compression can be used to reduce the dynamic range of your tracks. This can help to make your mix sound louder and more consistent.
- Add effects to enhance your sound. Effects can be used to add ambience, depth, and excitement to your mix. Experiment with different effects to find the ones that you like best.
Mixing and mastering are skills that take time and practice to develop. But with a little effort, you can learn to create polished and professional-sounding recordings.
Mixing for Clarity and Impact
Mixing for Clarity and Impact
When mixing your guitar tracks, it’s important to create a clear and impactful mix that allows each element to shine through. Here are a few techniques you can use to achieve this:
- Panning: Panning refers to the placement of your tracks in the stereo field. Use panning to spread out your tracks and create a wider, more immersive mix.
- Volume balancing: Volume balancing is the process of adjusting the levels of your tracks so that they all sit together well. Use volume balancing to make sure that each track is audible and that no one track is overpowering the others.
- EQing: EQing refers to the adjustment of the frequency response of your tracks. Use EQ to boost or cut certain frequencies to improve the overall sound of your mix.
Here are a few additional tips for mixing for clarity and impact:
- Start with a good recording. A good mix starts with a good recording. Make sure that your individual guitar tracks are sounding their best before you start mixing.
- Use reference tracks. Reference tracks are professionally mixed and mastered recordings that you can use to compare your mix to. Use reference tracks to help you identify areas where your mix can be improved.
- Take breaks. It’s important to take breaks while you’re mixing so that you can come back to your mix with fresh ears. Taking breaks will help you to avoid making decisions that you’ll regret later.
Mixing for clarity and impact is a skill that takes time and practice to develop. But with a little effort, you can learn to create mixes that sound great on all playback systems.
Mastering for a Professional Finish
Mastering for a Professional Finish
Mastering is the final step in the recording process, and it’s essential for giving your tracks a polished and professional sound. Mastering can be used to:
- Enhance the overall sound: Mastering can be used to improve the overall sound of your mix by adding warmth, clarity, and punch.
- Improve loudness: Mastering can be used to increase the loudness of your tracks without sacrificing quality.
- Create a consistent sound: Mastering can be used to create a consistent sound across all of your tracks, regardless of where they were recorded or mixed.
Here are a few of the most common mastering techniques:
- Compression: Compression reduces the dynamic range of your tracks, making them sound louder and more consistent.
- Limiting: Limiting is a type of compression that prevents your tracks from exceeding a certain level. This can help to protect your tracks from distortion and clipping.
- Equalization: Equalization can be used to adjust the frequency response of your tracks, making them sound brighter, warmer, or more balanced.
Mastering is a complex process that takes time and practice to master. But with a little effort, you can learn to create polished and professional-sounding masters that will impress your listeners.
Collaboration and Feedback
Collaboration and Feedback
One of the best ways to improve your mixing and mastering skills is to seek feedback from trusted sources. This could include other musicians, engineers, producers, or even friends and family members who have a good ear for music.
Here are a few of the benefits of collaboration and feedback:
- Gain valuable insights: Other people can often hear things in your mixes that you may have missed. They can provide valuable insights into what’s working well and what could be improved.
- Improve your overall sound: By collaborating with others, you can learn new techniques and approaches that can help you improve the overall sound of your recordings.
- Get motivated: Collaborating with others can help you stay motivated and on track with your recording projects.
Here are a few tips for getting the most out of collaboration and feedback:
- Choose the right people: When seeking feedback, it’s important to choose people who have the experience and expertise to provide valuable insights.
- Be open to criticism: It’s important to be open to criticism when seeking feedback. Remember that feedback is meant to help you improve, so don’t take it personally.
- Be specific: When asking for feedback, be as specific as possible. This will help the person you’re asking to provide more targeted and helpful feedback.
Collaboration and feedback are essential for any musician or producer who wants to improve their skills and create better recordings.
5. Additional Tips and Resources for Enhanced Recordings
Additional Tips and Resources for Enhanced Recordings
In addition to the information provided in this article, there are a number of other resources available to help you improve your guitar recordings. Here are a few of our favorites:
Recommended books:
- The Recording Engineer’s Handbook by Bobby Owsinski
- Mixing Secrets for the Small Studio by Mike Senior
- Mastering Audio: The Art and the Science by Bob Katz
Online courses:
- Guitar Recording Masterclass by Berklee Online
- Mixing and Mastering for Guitarists by Guitar Tricks
- The Complete Guide to Home Recording by Udemy
Industry insights:
- The Recording Academy (NARAS)
- The Audio Engineering Society (AES)
- Mix Magazine
- Sound on Sound Magazine
These resources can provide you with a wealth of additional information and insights on all aspects of guitar recording, from choosing the right gear to mixing and mastering your tracks.
Remember, the best way to improve your guitar recordings is to practice and experiment. Don’t be afraid to try new things and learn from your mistakes. With a little effort and dedication, you can achieve great results and create recordings that you’re proud of.
Recommended Books and Online Courses
Recommended Books and Online Courses
In addition to the general tips and resources provided in the previous section, there are a number of highly regarded books and online courses that can provide you with in-depth knowledge on guitar recording techniques, mixing, and mastering.
Recommended books:
- The Guitar Recording Handbook by Dave Hunter
- Mixing and Mastering for Guitarists by Mike Senior
- The Art of Digital Audio by Bob Katz
These books provide a comprehensive overview of all aspects of guitar recording, from choosing the right gear to mixing and mastering your tracks. They’re written by experienced professionals who have worked with some of the biggest names in the music industry.
Online courses:
- Guitar Recording Masterclass by Berklee Online
- Mixing and Mastering for Guitarists by Guitar Tricks
- The Complete Guide to Home Recording by Udemy
These online courses provide a more structured learning experience than books, with video lessons, quizzes, and assignments. They’re a great option for people who want to learn at their own pace and who prefer to have more interactive content.
Whether you choose to learn from books or online courses, there are a wealth of resources available to help you improve your guitar recording skills. With a little effort and dedication, you can achieve great results and create recordings that you’re proud of.
Industry Insights and Best Practices
Industry Insights and Best Practices
To achieve exceptional results with your guitar recordings, it’s important to stay up-to-date with the latest industry trends and best practices. Here are a few valuable insights from experienced engineers and producers:
- Use high-quality gear. The quality of your recordings will be limited by the quality of your gear. Invest in good microphones, preamps, and converters.
- Record in a good room. The acoustics of the room where you record can have a significant impact on the sound of your recordings. Choose a room that is quiet, has a low reverberation time, and is free of unwanted reflections.
- Use proper microphone placement. The placement of your microphones can have a significant impact on the sound of your recordings. Experiment with different microphone placements to find the ones that sound best for your guitar and your playing style.
- Get a good mix. A good mix can make even a mediocre recording sound great. Take the time to learn the basics of mixing and experiment with different techniques to find the sound that you’re looking for.
- Master your tracks. Mastering is the final step in the recording process, and it can help you achieve a polished and professional sound. If you’re not comfortable mastering your own tracks, you can hire a professional mastering engineer to do it for you.
By following these industry insights and best practices, you can improve the quality of your guitar recordings and achieve exceptional results.
Online Communities and Forums
Online Communities and Forums
Joining online communities and forums dedicated to guitar recording is a great way to connect with fellow musicians, ask questions, and share knowledge. Here are a few of the benefits of participating in online communities:
- Get answers to your questions. If you have a question about guitar recording, chances are that someone else has already asked it. Online communities and forums are a great place to search for answers to your questions and to learn from the experiences of others.
- Connect with other guitarists. Online communities and forums are a great way to connect with other guitarists who share your passion for recording. You can discuss your favorite techniques, share your work, and get feedback from others.
- Learn from experienced engineers and producers. Many online communities and forums have members who are experienced engineers and producers. These members can provide valuable insights and advice on all aspects of guitar recording.
Here are a few of the most popular online communities and forums dedicated to guitar recording:
- The Gear Page
- Harmony Central
- Guitar Tricks
- Recording.org
Joining an online community or forum is a great way to enhance your learning journey and to improve your guitar recording skills.
Quiz
1. True or False: The type of microphone you choose can significantly impact the sound of your guitar recordings.
2. Multiple Choice: Which of the following is NOT a type of microphone commonly used for guitar recording? (a) Dynamic (b) Condenser (c) Ribbon (d) Piezo
3. True or False: When miking the soundhole of an acoustic guitar, it’s best to place the microphone as close to the hole as possible.
4. Multiple Choice: Which of the following microphone placement techniques is used to capture a wide soundstage? (a) X-Y (b) A-B (c) Blumlein (d) ORTF
5. True or False: Mastering is the first step in the recording process.
Answer Key
- True
- (d) Piezo
- True
- (a) X-Y
- False
Answer Key
- True
- (d) Piezo
- True
- (a) X-Y
- False